
Appearance
Record cards
Most screens in Xperios are record cards, and they all behave the same way. Learning one teaches you the rest.
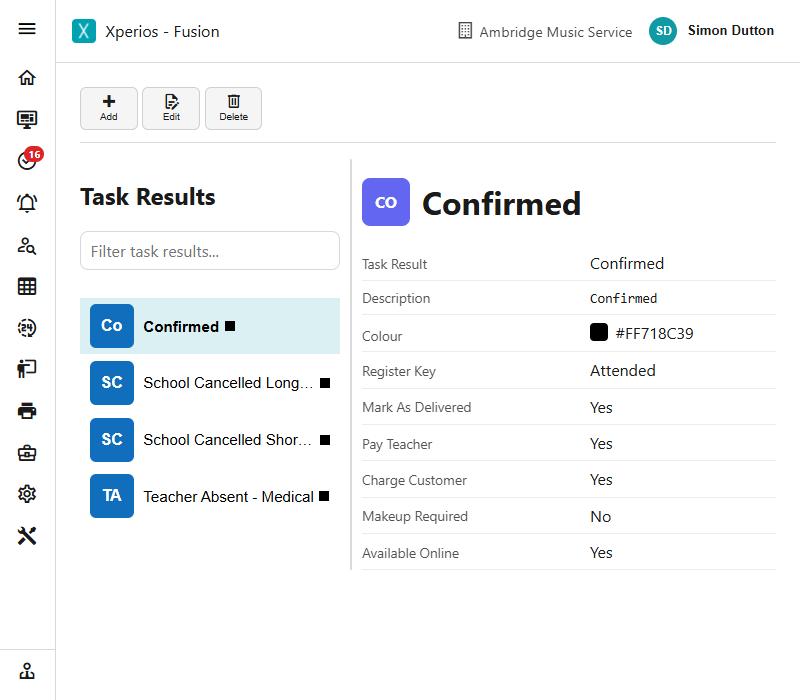
A record card is a list on the left and the chosen record on the right. Click a row to open it.
Finding a record
Type into the box above the list. The filter runs as you type and searches the whole list, not just what is on screen, so you do not need to scroll first.
More filters
Beside the filter box is a funnel. It opens a panel of extra filters specific to that screen — contact roles, a resource's status and location, a service type's category, an academic year.
Two things are worth knowing:
- Closing the panel clears the filters. That is deliberate: it means you can never be left looking at a filtered list without realising it.
- The funnel shows when a filter is set, and the panel opens by itself when you arrive at a screen that still has one applied.
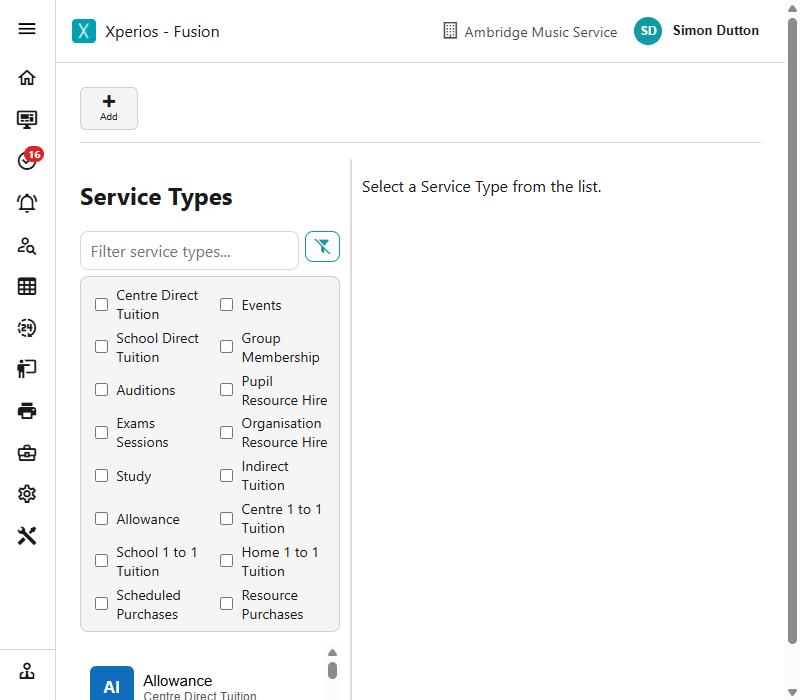
A list that looks short or empty
Check the funnel. A filter you set earlier is the usual explanation, and closing the panel puts everything back.
Reading the list
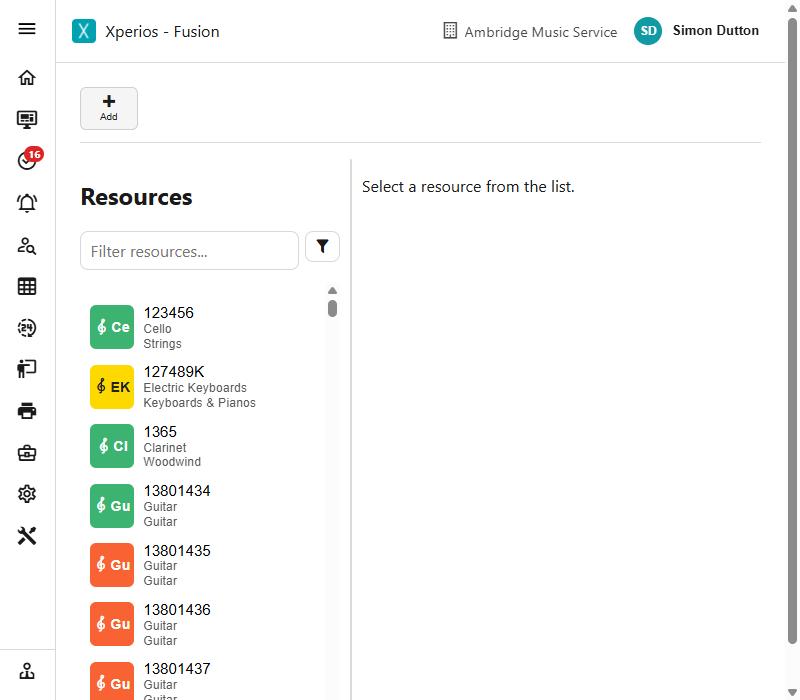
Each row shows a coloured tile with an abbreviation, the record's name, and a line or two of fainter detail beneath it.
The colour usually carries the record's status, so a list can be read at a glance without opening anything — which of your resources are out, which activities are live.
Adding and saving
Add starts a new record and fills in sensible defaults, so you change what does not suit rather than completing an empty form.
Save checks the record before writing it, and tells you what is missing rather than failing quietly.
If you try to leave a record with unsaved changes, Xperios asks before discarding them.
Deleting
Anything in use is archived rather than deleted. Archiving takes it out of the lists people pick from while leaving everything that refers to it intact — the applications, the invoices, the history.
Something never used can be deleted outright.
The three tools every record card has
Beside the record card's own buttons sit three that work the same way on every screen:
| Run Query | The queries somebody has tagged for this screen, opened on the first of them. A Back to … button returns you to the record you came from |
| Extract Data | The list as it stands on screen, to an Excel file named after the screen and today's date. Greyed out when the list is empty |
| History | The change log for the record you have open — who changed what, and when. Greyed out until you pick a record |
Run Query is only there when there is something to run
Run Query appears only where at least one query has been tagged for that screen, so an empty Query page is never what you land on. If it is missing from a screen you expected it on, nothing has been tagged for that screen yet — ask us and it is tagged centrally, along with the query itself.
Tagging is by name, loosely: a query tagged Teacher, Contact is offered on both the Teacher and the Contact screens. See Queries.
Extract Data is not the same as exporting a query. It takes the plain fields of the rows in the list in front of you — useful for a quick working copy of what you are looking at, not for a report you will keep. For that, run a query.
Fields that take formatting
Some longer text fields — a service type's application wording, your invoice footer, an SLA's conditions — accept Markdown, which is a plain way of writing formatting:
| Write | To get |
|---|---|
## Heading | A heading |
**bold** | bold |
- item | A bulleted list |
These fields give you Write and Preview, so you can see how it will read before saving.
Markdown is used rather than a full editor because the same text has to come out correctly in an email, on the Portal and on a printed document, and plain formatting survives all three.